Heating Systems
Steam Radiators
Styles
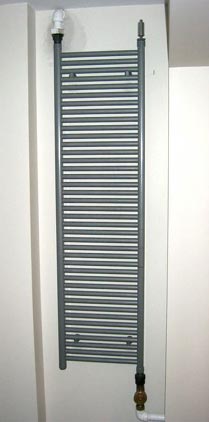
Steamview
The Steamview is made for both one pipe and two pipe steam systems. The all-welded steel construction ensures a long service life.
Sleek 2.5″ profile. Available in two heights (16″ and 24″) and five lengths (24″, 36″, 48″, 60″, and 72″)
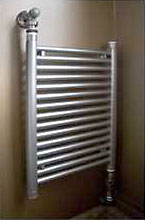
Charleston Pro
The Charleston Pro is made for both one pipe and two pipe steam systems. The all-welded steel construction ensures a long service life.
Sleek 4″ profile. Available in two heights (16″ and 24″) and five lengths (24″, 36″, 48″, 60″, and 72″)
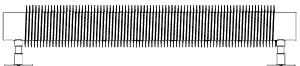
Steam Flow Form
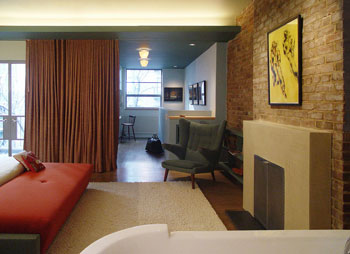
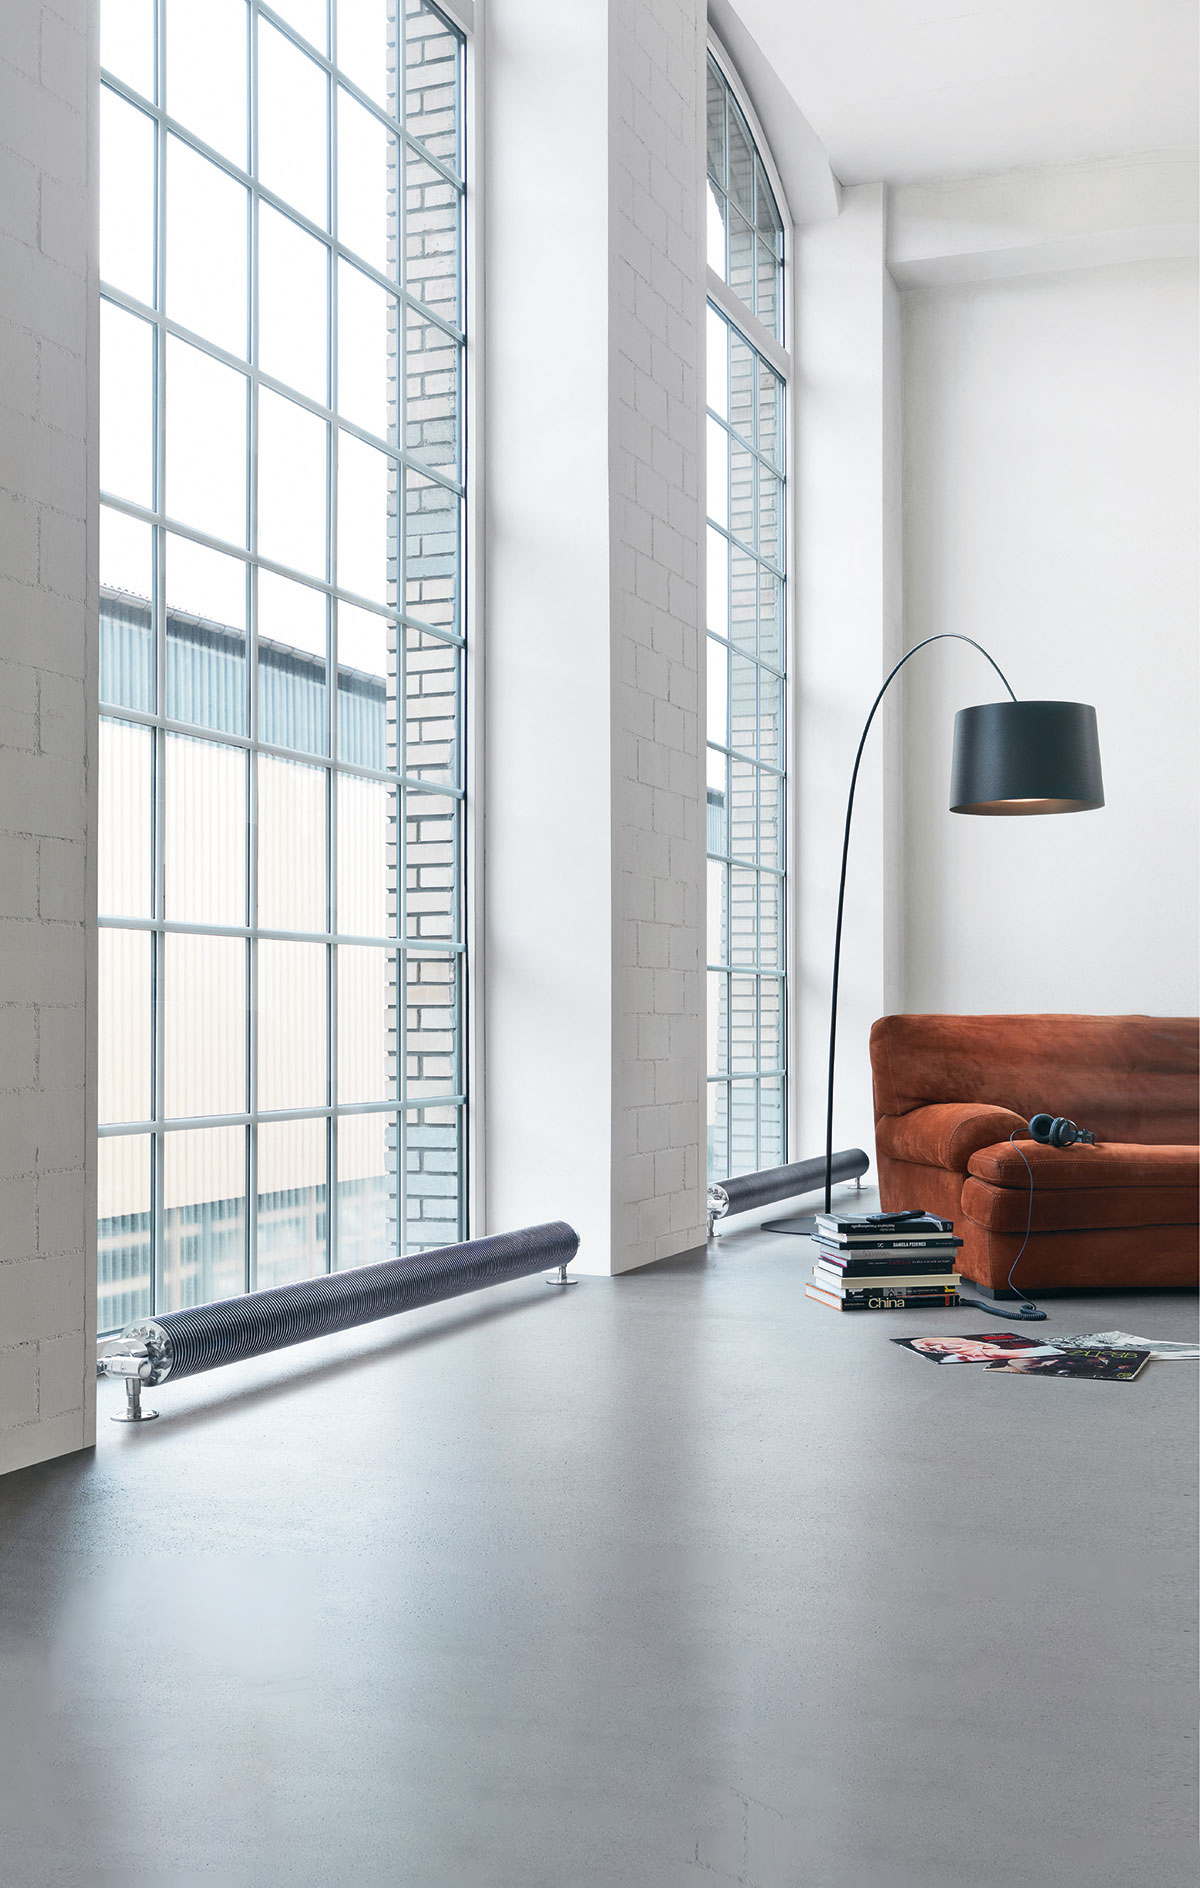
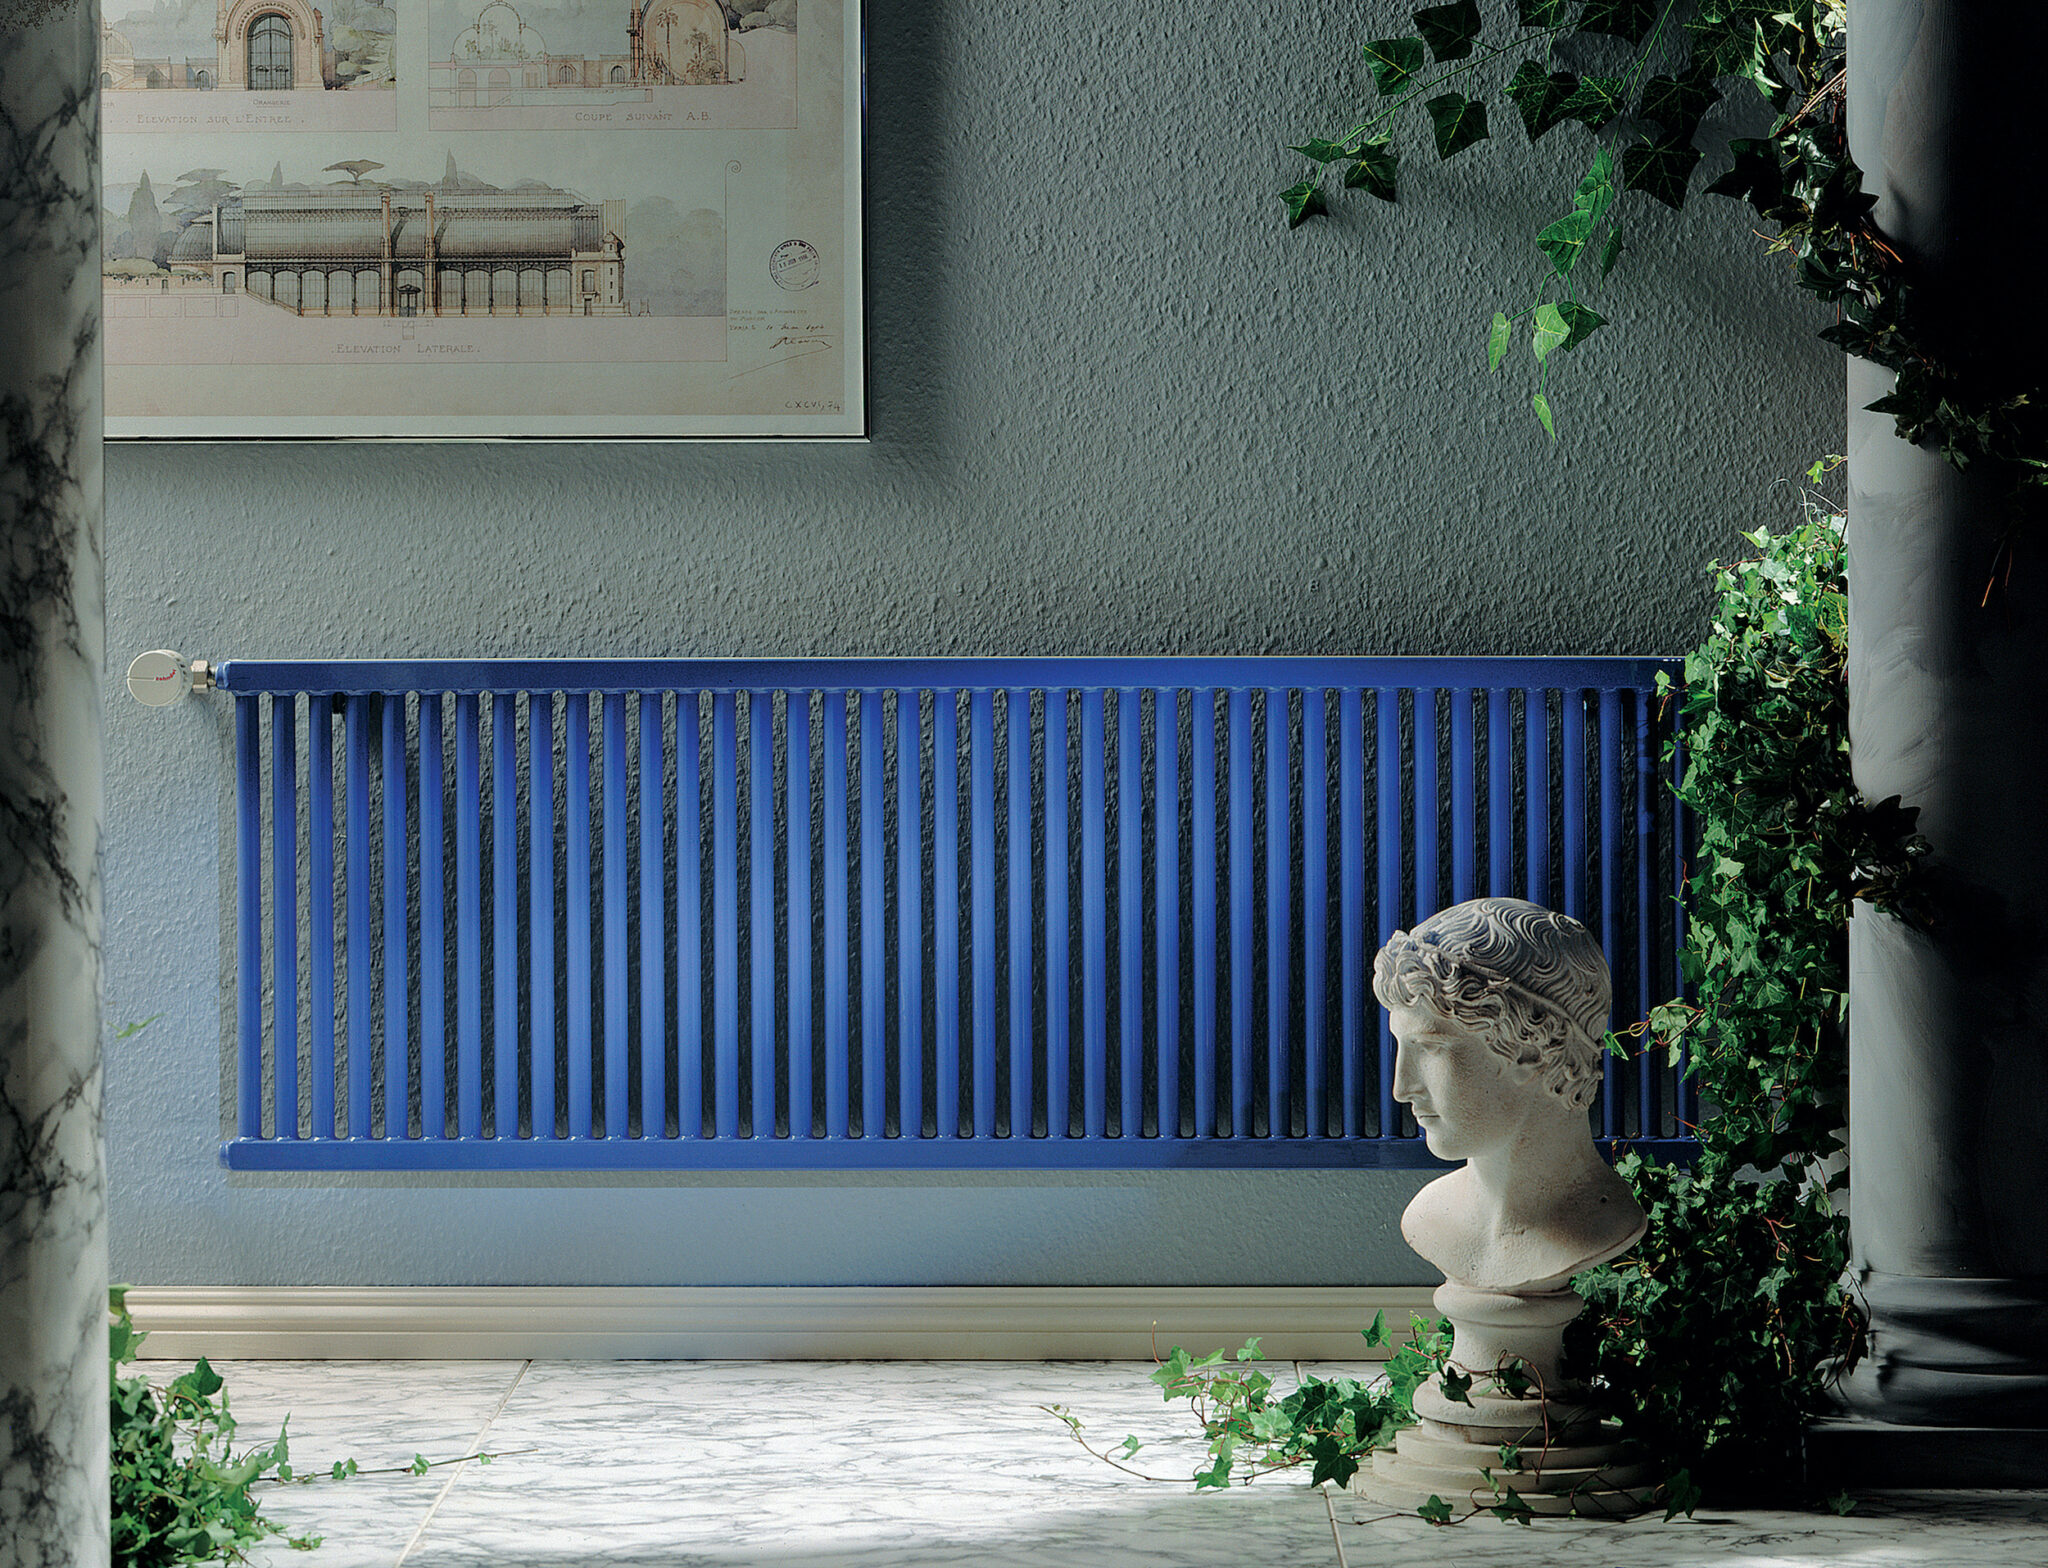
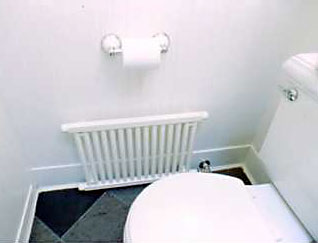
The sleek and functional design of the Steam Flow Form presents the nostalgic charm of early industrial design as well as providing a dramatic twist to modern design. It is ideal for use in lofts, studios and galleries, or rooms where a deliberate design statement is to be made. Fins arranged in a spiral around the heating tube radiate heat efficiently throughout the room in a highly pleasing way. The Steam Flow Form is for two-pipe steam systems only.
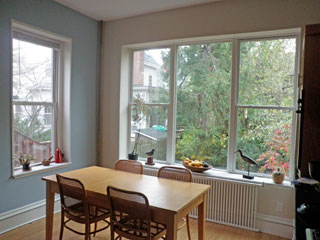
The stylish alternative to bulky cast iron steam radiators
Style
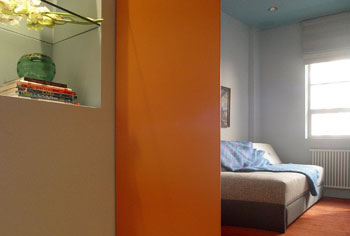
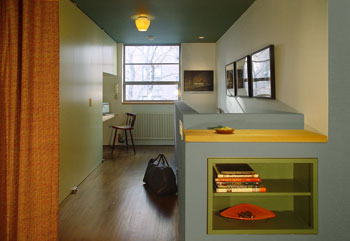
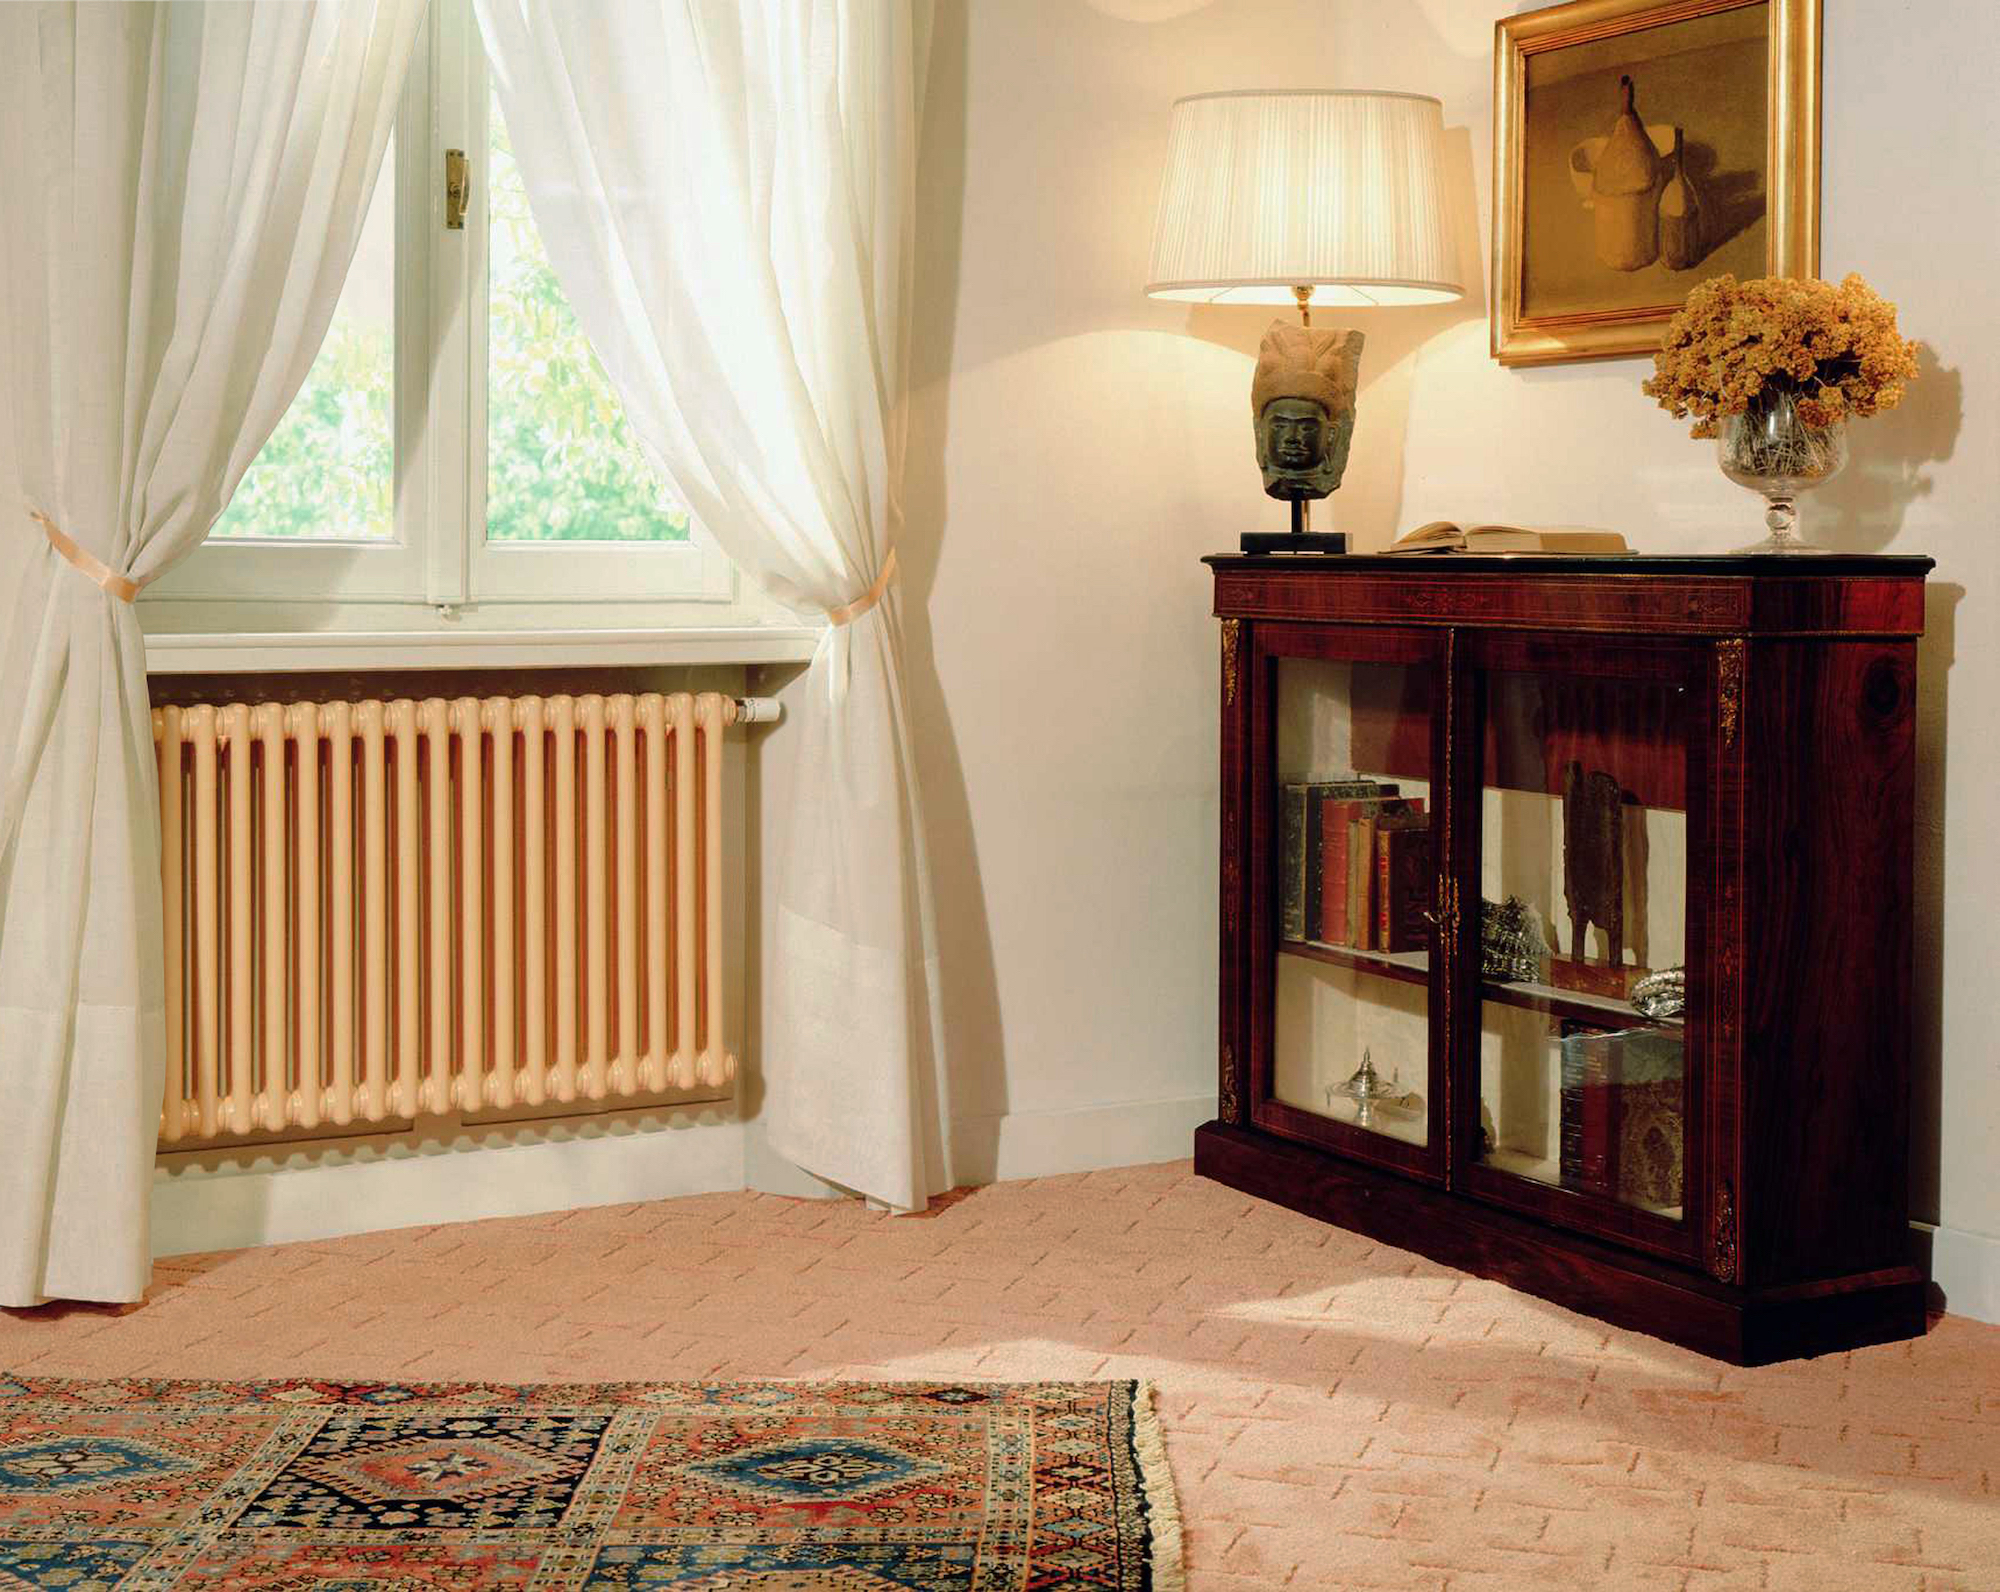
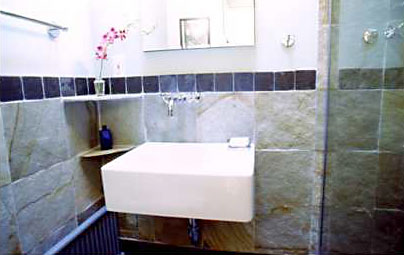
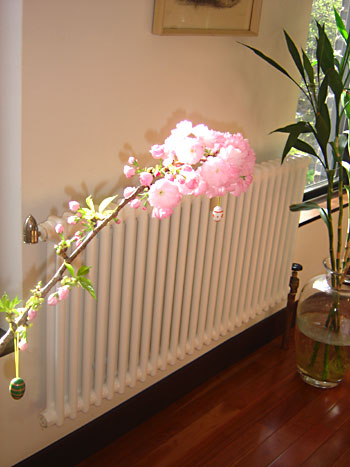
These sleek designs allow you to free up valuable space. The Steamview and Charleston Pro are available in over a hundred colors.
Immediate Delivery
Available for immediate delivery in stock colors.
Simple Installation
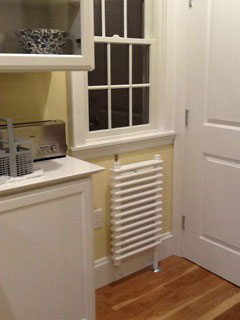
The Steamview and Charleston Pro are made for both one and two pipe steam heating systems, are wall mounted and offer continuous mounting. The Steam Flow Form is easily floor mounted. All Steam Radiators can be piped with the supply or return on either side of the radiator.
Durability
The Steam Radiators’ all welded steel construction ensures a long service life. Proprietary internal construction guards against corrosion. All Steam Radiators have a five- year limited warranty.
Steamview
Specifications
 |
|
||||||||||||||||||
 |
|
||||||||||||||||||
Installation Tips
ROUGHING-IN |
||||||||||||||||||||||||||||||||||||||||||||||||||
 |
||||||||||||||||||||||||||||||||||||||||||||||||||
|
MOUNTING |
|
 |
Mounting Tips:
|
| PIPING | |||||||
|
2-PIPE STEAM SYSTEM
|
1-PIPE STEAM SYSTEM
|
||||||
GENERAL INSTALLATION TIPS |
|
|
2-Pipe Steam System
|
1-Pipe Steam System
|
Downloads
Downloads
Charleston Pro
Specifications
 |
|
||||||||||||||||||
 |
|
||||||||||||||||||
Installation Tips
ROUGHING-IN |
 |
||||||||||||||||||||||||||||||||||||||||||||||||||
|
MOUNTING |
|
 |
Mounting Tips:
|
PIPING |
|||||||
2-PIPE STEAM SYSTEM
|
1-PIPE STEAM SYSTEM
|
||||||
GENERAL INSTALLATION TIPS |
|
2-Pipe Steam System
|
1-Pipe Steam System
|
Downloads
Downloads
Steam Flow Form
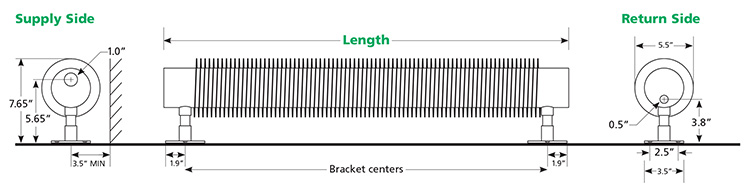
Specifications
 |
|
|||||||||
Installation Tips
ROUGHING-IN |
 |
||||||||||
|
MOUNTING |
|
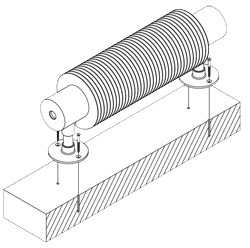 |
Mounting Tips:
|
Downloads
Downloads
Design & Color Options
With a vibrant and varied palette, you can choose a shade that will blend into the background or add an eye-catching focal point to your room. Whether you’re decorating a neutral space, or you’re eager to inject character and color, there’s an ideal match for you.
You can choose from a range of standard colors or pay a little extra for a custom shade for your home. For custom color options please visit our Design Assistance and Custom Products Section where our team can help you find the exact match you are looking for.


Design & Planning
Runtal heating products can blend into a traditional décor, highlight an ultra-modern design, or accent any style in between. From baseboard style, to wall panels, to fancy curves and dramatic room dividers, Runtal manufactures the perfect welded steel radiator for every application. Since Runtal manufactures an almost unlimited selection of sizes, colors, and heat outputs. Runtal is truly a designer’s dream. Innovation in architectural detail is no longer held hostage to “old rules” of mechanical heating systems. Imagine the possibilities, confident that the final design will be comfortable and stylish.
Store
Purchase any of our handcrafted stocked Runtal White radiators directly from the factory, for quick delivery, or choose from a variety of 9 standard colors for 2-week delivery.
Design Assistance & Custom Products
Runtal Radiators can be custom designed to fit your exact specifications. Choose from an endless variety of colors, including select metallic finishes. Our experts will assist you with finding the exact size, heat capacity and décor your are looking for.